Process part 2!
Working from my previous post we ended on a new sketch for the environment.

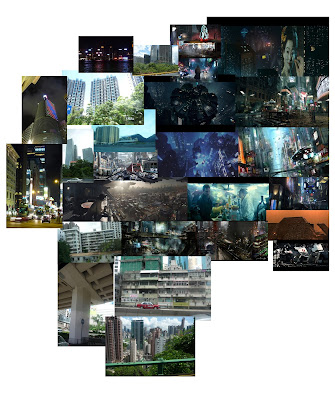
From this sketch, I started working in with flat values, the point of this shot is to get a feel for where the light will be coming from. Once the Flat values were placed, it was time to place in shadows and highlights to indicate where the key light would be coming from - in this case it would be from the sun between the buildings.
 The bridge is designed to bring back a part of the natural world into the high tech industrial city, as there would be no parks within city limits. With this in mind, I added a water feature falling from the side of the bridge and plant life on top of the pillars. Once this was completed, I moved on to creating a call out for the bridge itself.


From this sketch, I started working in with flat values, the point of this shot is to get a feel for where the light will be coming from. Once the Flat values were placed, it was time to place in shadows and highlights to indicate where the key light would be coming from - in this case it would be from the sun between the buildings.


Starting with creating a perspective grid, I then moved on to sketching out the bridge as a whole. This took some time as I was working out more details on the bridge structure itself. Once the line art was completed, it was time to place a base colour over the whole object.

Shadows and highlights were then added to display where the light source was coming from. The floor of the bridge is made of a reflective material panels, something along the lines of marble flooring.

The bridge is surrounded by buildings both beside and below and I wanted to introduce some lighting from these buildings into the callout, this also helps with showing angles on the bridge. A light yellow-orange was placed over the top right of the image, to introduce sunlight and atmospheric fog helped to separate and more clearly communicate the design.

Now that the bridge was done, it was time to call out the pillar itself. The overall shape of the pillar is the same as that within the bridge concept, with extra details. I felt the addition of dim light lines on the pillar would aid the design with the added functionality of being able to see the bridge better at night. I worked the same way for this part as I did with the bridge callout, starting with base colours and then working into the image. In this case two textures were used (both from http://www.cgtextures.com/), one for the plant section and the other for the pillar itself.

The textures where then painted over and shadows and highlights were added as well. I used a colour dodge layer at the end to push out the light lines on the pillar and reflections were added to show off the reflective qualities of the material.

The last part once the pillar was finished is to arrange the parts of the image into place. A small border was added to separate out the piece of the image and annotate parts of the images. It was very fun to create this image and I have learned a lot from doing so! On to the next one!